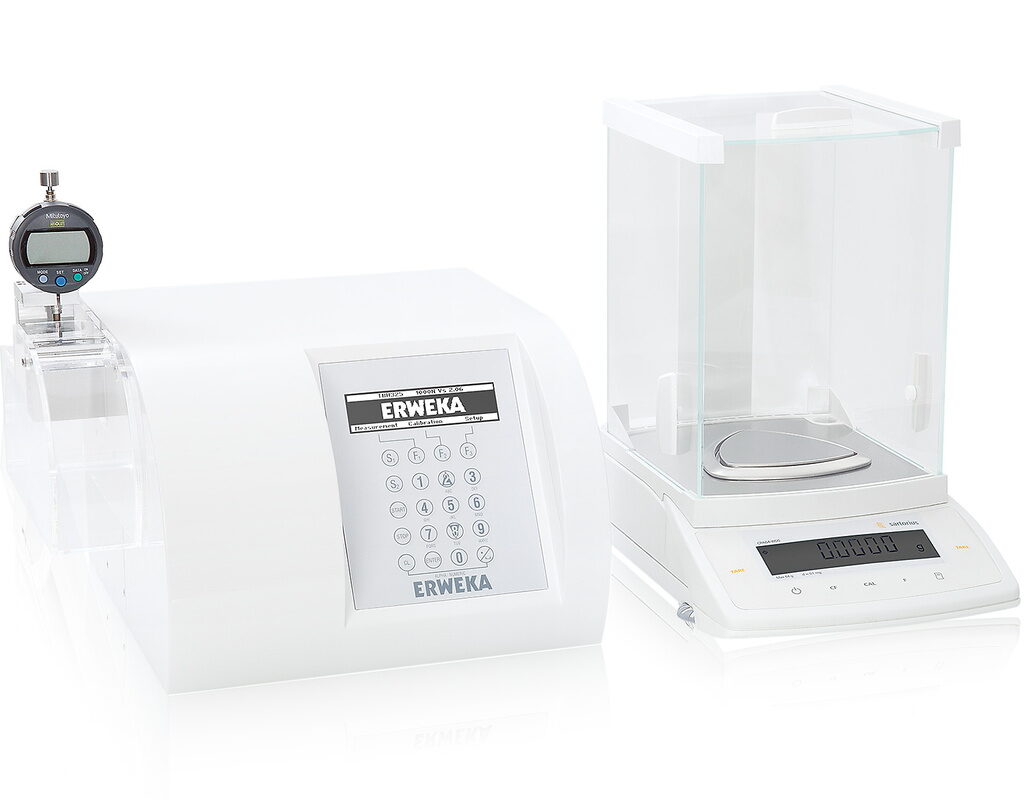
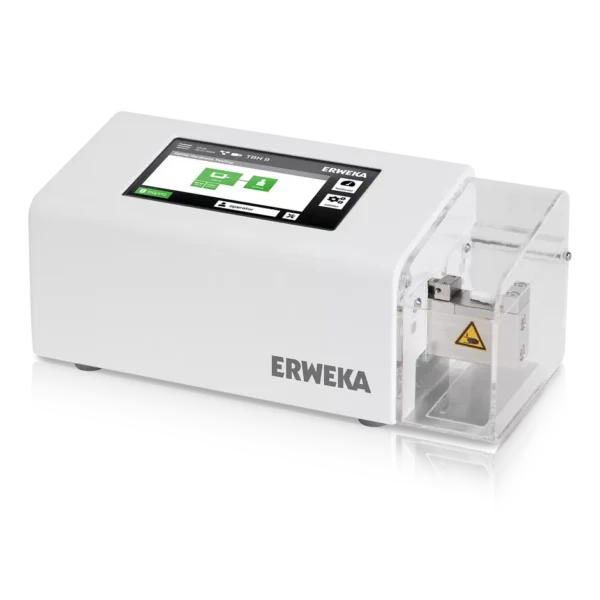
The TBH 325 is the ERWEKA hardness or combination tester with integrated product memory for up to 50 products. Its robust design enables smooth operation in production environments. The numeric keypad with alphanumeric sub-function can be used to store the nominal hardness in combination with three tolerances for up to 50 products, which can then be recalled for testing.
Alphanumeric information such as product names and remarks can be entered into the device by using the alphanumeric sub-function of the keypad, similar to writing a message on a mobile phone. In addition, the TBH 325 allows numeric or even alphanumeric entries of batch / lot numbers before the test run starts. The recorded information and test results can be documented in a variety of ways: The data can be printed out with a connected printer or transferred to a computer via the LAN interface. As the samples are manually inserted into the test station, all types and shapes of tablets can be tested. Broken samples can be removed from the test station into an acrylic glass disposal container.
The TBH 325 measures the hardness of samples in a range of 10-500 Newton with two selectable measurement modes: ”Constant Speed” or ”Constant Force”. Both the measuring sensitivity (3-40 N) and test speed (0.05-3 mm/sec. or 10-200 N/sec.) can be adjusted. The results are displayed and printed in either Newtons (N), Kiloponds (KP) or Strong Cobb (SC).

Easy Setup Easy calibration
The calibration of the hardness testing station is fully menu-driven and can be carried out using either weight stones or the electronic ERWEKA AutoCal 2.0 system. When calibrating with weight stones, the TBH 325 offers a two-point adjustment, where one point is fixed (0 kg) and the second point can be freely selected from the measuring range of the device.
To ensure accurate results over the entire measuring range, ERWEKA recommends setting the second calibration point in the middle of the device’s measuring range, i.e. at 30 kg. Once the adjustment has been completed, the accuracy / linearity of the measuring range can be calibrated and documented (using up to three points within the measuring range).

Get Connected Multiple Interfaces
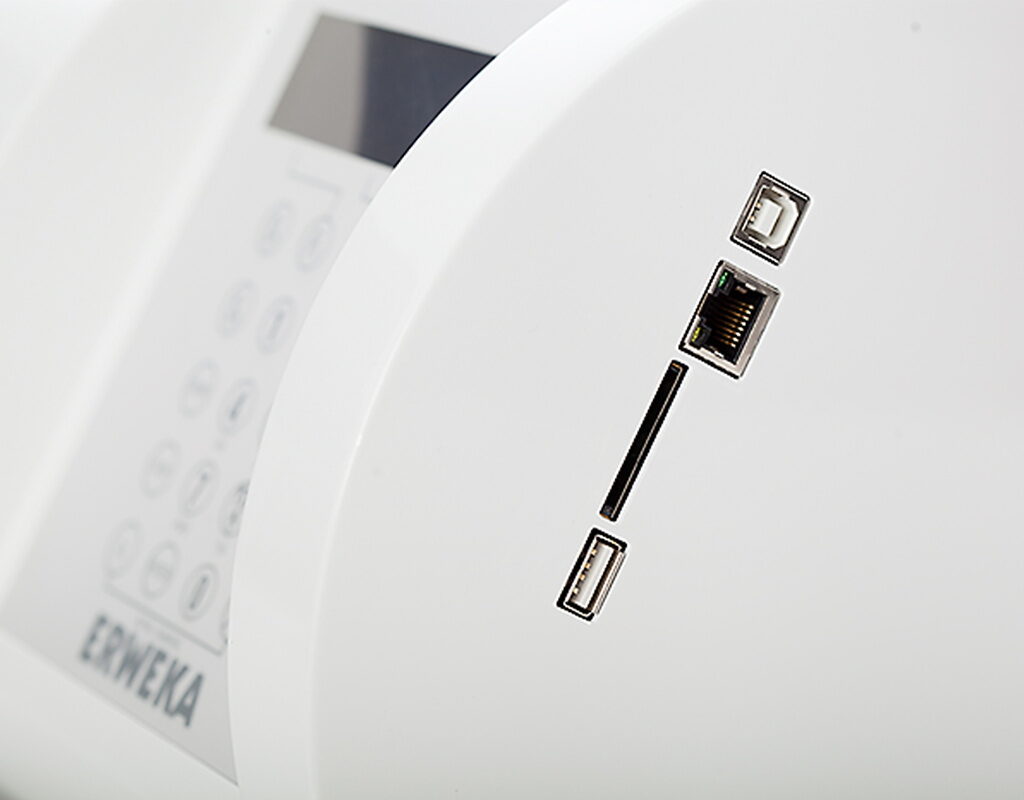
Using an SD memory card or a USB memory stick, the stored product data can either be backed up or easily transferred to any other TBH 325 / 425. The ERWEKA MC.NET software controls the TBH via PC. In addition, the USB printer interface can be connected to receive a documentation printout with data such as device serial number, date / time of calibration, date / time of test run as well as individual results and statistics.
The Ethernet LAN interface allows the connection of a computer with the optional ERWEKA MC.NET software. In combination with this option, the TBH 325 series is 100 % 21 CFR 11 compliant and can be controlled with a PC.
The TBH 325 series is available for the measurement of:
- Hardness – TBH 325
- Hardness and diameter – TBH 325 D
- Hardness / diameter / thickness – TBH 325 TD
- Hardness / diameter / thickness / weight – TBH 325 WTD
Small Device, Big Features Key Features

Hardness Testing
Measuring range from 3 to 500 Newton

Thickness Measurement
Measure the thickness of up to 12 mm

Diameter Measurement
Test samples with a diameter of up to 28 mm or 70 mm

Weight Measurement
Optional weight measurement

LAN / USB Interfaces
LAN / USB interfaces for connecting to printers or to the network for external control and storage of results using the optional MC.NET software

100% USP / EP / JP Compliant
Like all ERWEKA products, the TBH 325 is 100% USP / EP / JP compliant
Automatic Calibration Tool AutoCal 2.0
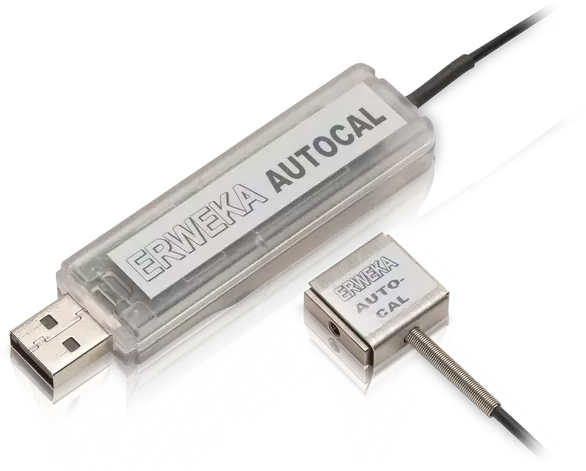
The ERWEKA AutoCal 2.0 system is a calibration tool for the automated calibration of the hardness tester station – without weights, external PC and software.
Calibration has never been so easy: The AutoCal 2.0 USB stick is plugged into the USB port of the TBH x25 and the connected certified load cell is inserted into the hardness testing station.
The entire system (adjustment and calibration) is now carried out via the hardness tester’s keypad and display. The device performs the adjustment automatically and the calibration can be checked for linearity by checking up to three points within the measuring range. In addition, a documentation report can be created via the standard printer interface.


Technical Data
| Weight | 10 kg |
| Dimensions (H x W x D) | 310 x 350 x 375 mm |
| Voltage | 100 – 240 V / 50 – 60 Hz |
| Interfaces | SD card, Ethernet (LAN), RS232 C (option),1x USB-A and 1x USB-B interface for printer / Autocal 2.0 |
| Hardness range | 3 – 500 N (extended (option): 3 – 1000 N ± 1 N) |
| Diameter/length | 2 – 28 mm (± 0.05 mm) |
| Extended measuring range diameter (option) | 2 – 70 mm (± 0.05 mm) |
| Thickness (option) | 0.10 – 12 mm (± 0.05 mm) |
| Weight (option) | 20.0 mg – 64 g (± 0.1 mg) (depending on balance type) |
| Constant speed | 0.1 – 3 mm/sec. |
| Constant force | 10 – 200 N/sec. |
| Calibration | Weights (statistic calibration) Optional: AutoCal 2.0 (dynamic calibration) |

![llproductsphysicals-tbh-325[1] TBH 325](https://smarteq-sa.com/storage/2024/11/llproductsphysicals-tbh-3251-700x700.webp)
![pic-tbh325-front[1] TBH 325](https://smarteq-sa.com/storage/2024/11/pic-tbh325-front1-700x467.jpg)
![pic-tbh325-img-8188-vs[1] TBH 325](https://smarteq-sa.com/storage/2024/11/pic-tbh325-img-8188-vs1-700x467.jpg)
![pic-tbh325-interface[1] TBH 325](https://smarteq-sa.com/storage/2024/11/pic-tbh325-interface1-700x467.jpg)
![pic-tbh325-weight-measurement[1] TBH 325](https://smarteq-sa.com/storage/2024/11/pic-tbh325-weight-measurement1-700x467.jpg)
![llproductsphysicals-tbh-325[1] TBH 325](https://smarteq-sa.com/storage/2024/11/llproductsphysicals-tbh-3251-100x100.webp)
![pic-tbh325-front[1] TBH 325](https://smarteq-sa.com/storage/2024/11/pic-tbh325-front1-100x100.jpg)
![pic-tbh325-img-8188-vs[1] TBH 325](https://smarteq-sa.com/storage/2024/11/pic-tbh325-img-8188-vs1-100x100.jpg)
![pic-tbh325-interface[1] TBH 325](https://smarteq-sa.com/storage/2024/11/pic-tbh325-interface1-100x100.jpg)
![pic-tbh325-weight-measurement[1] TBH 325](https://smarteq-sa.com/storage/2024/11/pic-tbh325-weight-measurement1-100x100.jpg)


![llproductsphysicals-tbh-425[1] TBH 425](https://smarteq-sa.com/storage/2024/11/llproductsphysicals-tbh-4251-600x600.webp)
![llproductsphysicals-multicheck6[1] MultiCheck 6](https://smarteq-sa.com/storage/2024/11/llproductsphysicals-multicheck61-600x600.webp)
![llproductsphysicals-easycheck[1] EasyCheck](https://smarteq-sa.com/storage/2024/11/llproductsphysicals-easycheck1-600x600.webp)